This weekend I made some goodies for the Super Bowl. I made my all time party standby - Caramel Apple Dip. I love it because it is so easy but so yummy.
Caramel Apple Dip
Stick cream cheese
1 tsp vanilla
3/4 cup brown sugar
pecans, chopped
Mix together until creamy. Slice apples to dip. Easy peezy!!
I also wanted to make some new things. I've been following a lot of new blogs lately and some of them are cooking and recipes. So I tried two others. They both turned out really good so I was happy!
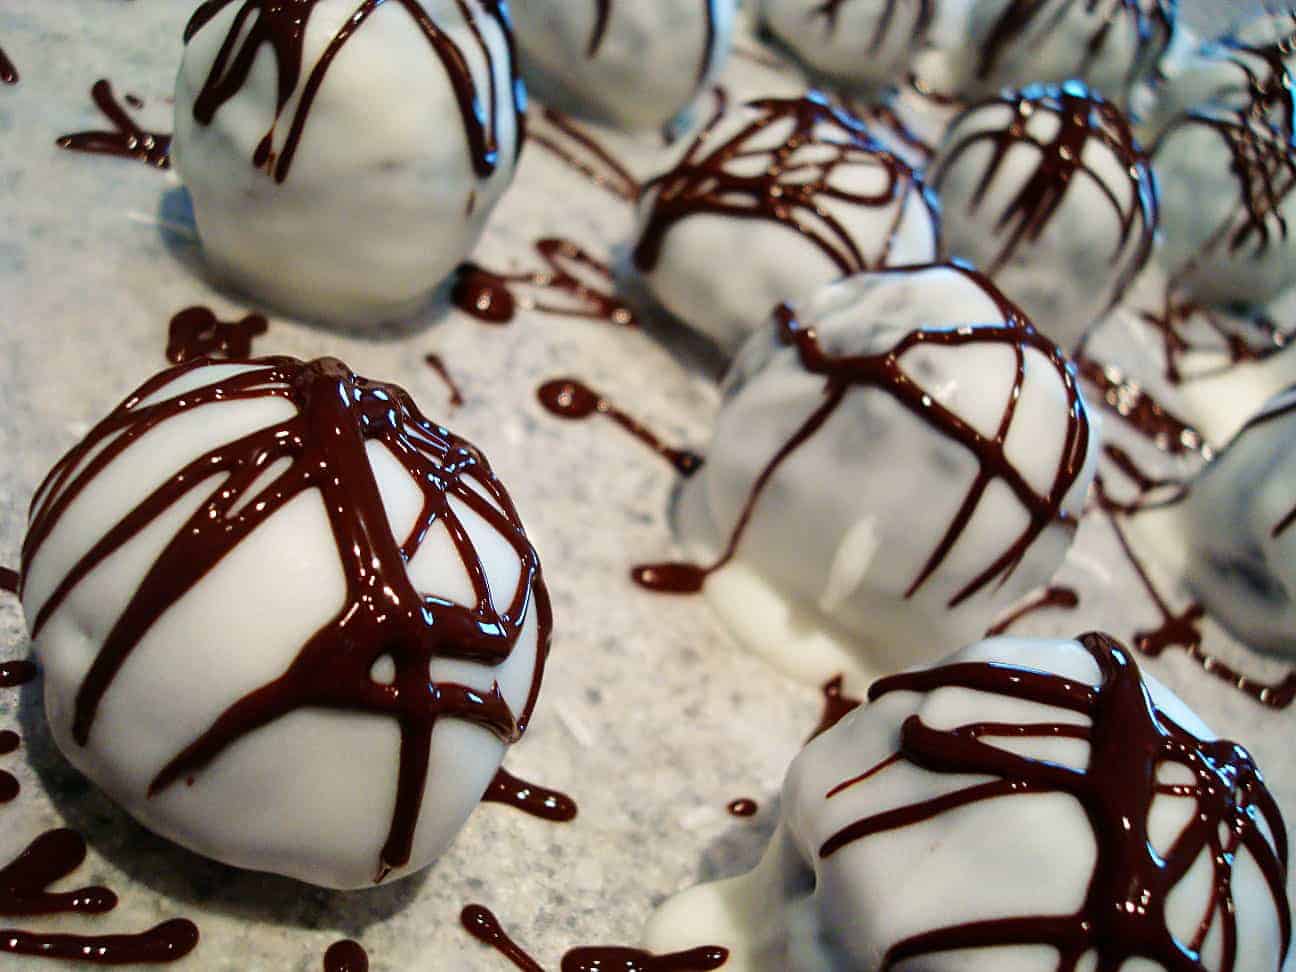
Oreo Truffles - http://www.melskitchencafe.com/
1 package (18 oz.) Oreo cookies, crushed into small pieces
1 8-oz. package cream cheese, softened
1 package Almond Bark
Chocolate chips or chocolate bark for drizzling
Mix crushed Oreos and cream cheese until well-combined. The best way to do this is using your fingers – it will be messy! Roll into 1-inch balls and place on baking sheet or tray. Refrigerate until firm, 3-4 hours (or stick in the freezer for about an hour).
Melt white almond bark according to package directions. Using 2 forks (or a spoon, but forks always work better for me), dip Oreo balls into white coating and place onto waxed paper to harden. Once dry, melt chocolate bark (or if using chocolate chips, melt chocolate chips with a bit of shortening) and scoop melted chocolate into a ziploc baggie. Snip a very small corner off the bag and drizzle back and forth over the truffles. Let dry. Chill them and serve after chilled (they taste best cold!).
I made a few mistakes making these two recipes. With the oreo truffles, you are supposed to use a food processor or blender to mash the oreos. The recipe didn't say that so I just hand crushed them and they were still chunkier than they should have been. It made them harder to roll into balls, but they tasted just as good. With the pretzel bites, I did figure out the yeast part, but I used the wrong attachment on my mixer and it made my dough a little messy. I definitely won't do that again.
Chewy Pretzel Bites -
http://www.melskitchencafe.com/
Note: if using active dry yeast, increase the yeast to 1 tablespoon. Proof the yeast in the warm water and sugar (let it bubble and foam – maybe about 5 minutes) before adding it to the flour and salt.
*Makes about 2 dozen pretzel bites
Dough:
2 1/2 cups (10 1/2 ounces) all-purpose flour
1/2 teaspoon salt
1 teaspoon sugar
2 1/4 teaspoons instant yeast
1 cup (8 ounces) very warm water
Topping:
1/2 cup (4 ounces) warm water
2 tablespoons baking soda
Coarse salt (optional)
3 tablespoons butter, melted
In a large bowl or the bowl of an electric mixer, place the flour, salt, sugar and yeast. Mix to just combine. Add the water and mix well, adding more flour, as needed, a bit at a time to form a soft, smooth dough that clears the sides and bottom of the bowl. Knead the dough, by hand or machine, for about 5 minutes, until it is soft, smooth and quite slack. The goal is to get a really soft dough that isn’t overly sticky. Lightly flour the dough and place it in a plastic bag; close the bag, leaving room for the dough to expand, and let it rest for 30 minutes or up to 60 minutes.
Preheat your oven to 500°F. Don’t be afraid of the high heat! This is what will help those pretzels to brown up perfectly and stay soft on the inside. Prepare two baking sheets by lining them with parchment paper or lightly greasing them.
Transfer the dough to a lightly greased work surface, and divide it into about four strips of equal length. Allow the pieces to rest, uncovered, for 5 minutes. While the dough is resting, combine the 1/2 cup warm water and the baking soda in a liquid measuring cup (deep enough to dip the pretzel bites into). Make sure the baking soda is thoroughly dissolved. Sometimes I have a hard time getting the baking soda completely dissolved, so I just lightly stir up the mixture right before adding each pretzel.
Cut each strip of dough into about 6-8 pieces, about 1 to 1 ½ inches in width. You don’t have to be completely exact, just eyeball it. Dip each pretzel bite in the baking soda solution (this will give the pretzels a nice, golden-brown color), and place them on the baking sheets. Sprinkle them lightly with coarse, kosher, or pretzel salt. Allow them to rest, uncovered, for 10 minutes.
Bake the pretzels for 7-8 minutes or until they’re golden brown. Bake one sheet at a time – it won’t hurt the other pretzels to chill out for a little longer.
Remove the pretzels from the oven, and brush them thoroughly with the melted butter. Keep brushing the butter on until you’ve used it all up; it may seem like a lot, but that’s what gives these pretzels their ethereal taste. Eat the pretzels warm, or reheat them in an oven or microwave on low heat.